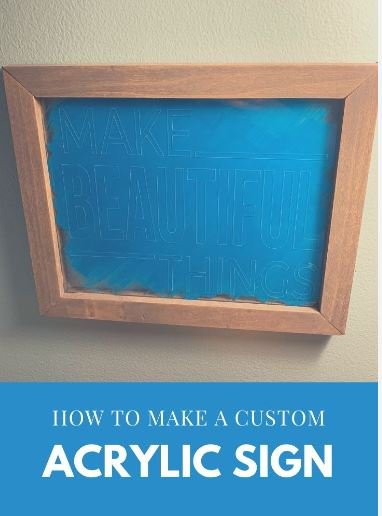
Acrylic signage is a popular choice for businesses in New York City due to its versatility, durability, and sleek aesthetics. Here at Office Signs NYC, we specialize in crafting high-quality custom signs, but we understand the appeal of DIY projects. So, if you’re looking for a creative outlet or a cost-effective way to create smaller signs, this guide is for you!
Before You Begin: Planning and Materials
- Design your signage: Sketch your design or create it digitally using software like Adobe Illustrator or Inkscape. Consider your brand colors, fonts, and any logos you want to incorporate.
- Gather your materials:
- Acrylic sheet (size and thickness will depend on your design)
- Cutting tool (laser cutter, rotary tool, or jigsaw for thicker sheets)
- Sandpaper (various grits for smoothing edges)
- Vinyl (optional, for adding colored elements or text)
- Transfer tape (if using vinyl)
- Paint (optional, for solid color signs)
- Paintbrush or roller (if using paint)
- Safety gear (safety glasses, gloves, and mask)
Safety First!
Acrylic can create harmful dust when cutting. Always wear safety glasses, gloves, and a mask when using cutting tools or sanding. Consider working in a well-ventilated area or using a dust collection system.
Cutting Your Acrylic
- Laser Cutter: This provides the most precise cuts and is ideal for intricate designs. However, access to a laser cutter may require visiting a makerspace or professional sign shop.
- Rotary Tool: With a steady hand and the right attachment, a rotary tool can be used for smaller cuts and details.
- Jigsaw: If your design allows, a jigsaw can be used for thicker acrylic sheets. However, achieving clean cuts may require more practice.
Whichever method you choose, ensure you have a stable work surface and secure the acrylic sheet firmly.
Smoothing the Edges
After cutting, use sandpaper to smooth any rough edges. Start with a coarse grit sandpaper (around 80 grit) to remove major imperfections, then progress to finer grits (around 120-220 grit) for a smooth finish.
Adding Color and Text (Optional):
- Vinyl: Vinyl allows for a variety of colors and graphics that can be applied to the acrylic sheet. Use a cutting machine or purchase pre-cut vinyl lettering. Apply the vinyl using transfer tape for a precise placement.
- Painting: If you prefer a solid color sign, choose acrylic paint for optimal adhesion. Apply multiple thin coats for even coverage.
Assembling Your Sign (Optional):
Depending on your design, you may want to create a layered effect or add hanging hardware. For layered signs, use strong acrylic adhesive to bond the pieces together. For hanging, explore options like screw mounts, standoff brackets, or hanging wires.
Tips for Success:
- Measure twice, cut once! Double-check all measurements before cutting your acrylic sheet.
- Work in a clean and well-lit environment. This will help you achieve a professional-looking finish.
- Take your time! Rushing the process can lead to mistakes.
- Consider professional help for complex designs. If your design requires intricate cuts or features multiple layers, consider partnering with a sign company like Office Signs NYC. We have the expertise and equipment to create stunning and durable acrylic signage for your business.
By following these steps and unleashing your creativity, you can craft unique acrylic signage that reflects your brand identity. However, remember, Office Signs NYC is always here to help! Contact us for a free consultation to discuss custom-made acrylic signs tailored to your specific needs and budget.
Let us help you make a lasting impression in the heart of NYC!


